NOTICE: You are in the old ClientSpace Help system. Please link to the new ClientSpace Help here https://extranet.clientspace.net/helpdoc/home/ClientSpace.htm
Configuring Distribution Groups for Email Integration With Office 365
In order to create distinct client email integration aliases with an Exchange mail server in Office 365 you first need to create custom distribution groups on your exchange mailbox. The following document was designed to walk you through the process of creating these unique groups.
Step-by-step guide
Log into Office 365 online using an account that has administrative rights to the mailbox in question
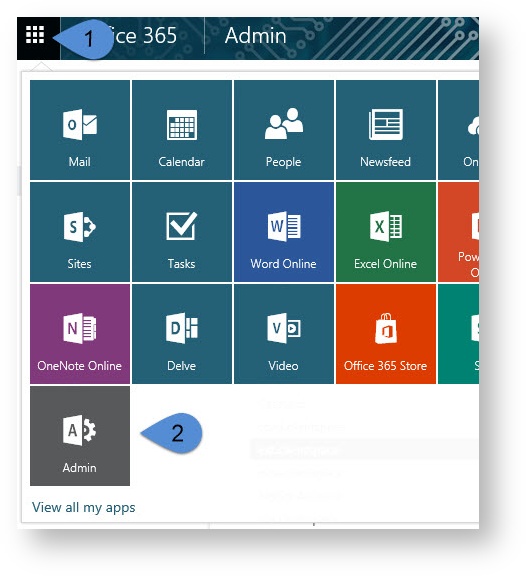
- Go to the Admin Area of the account
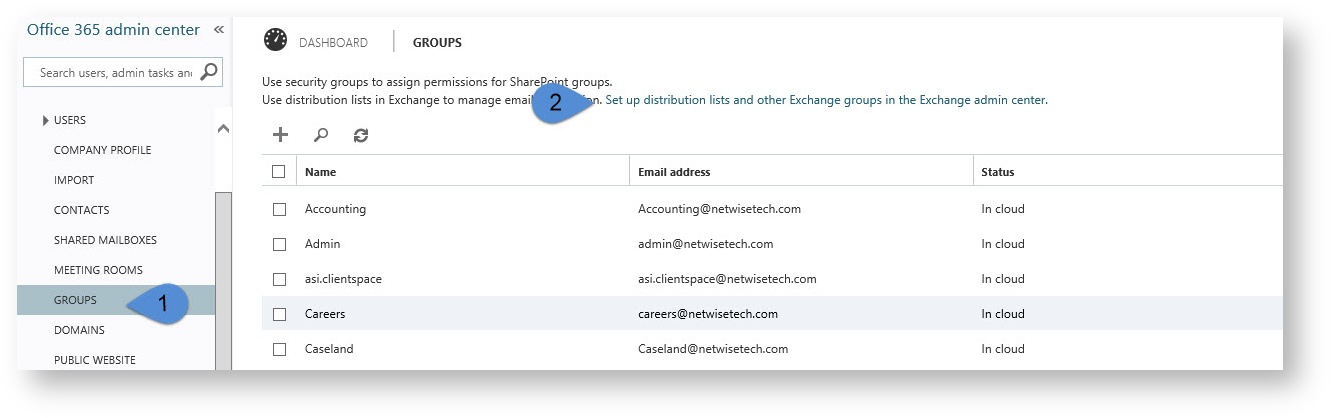
- Select Groups in the LEFT Nav and then choose "Set up distribution lists and other Exchange groups in the Exchange Admin center."
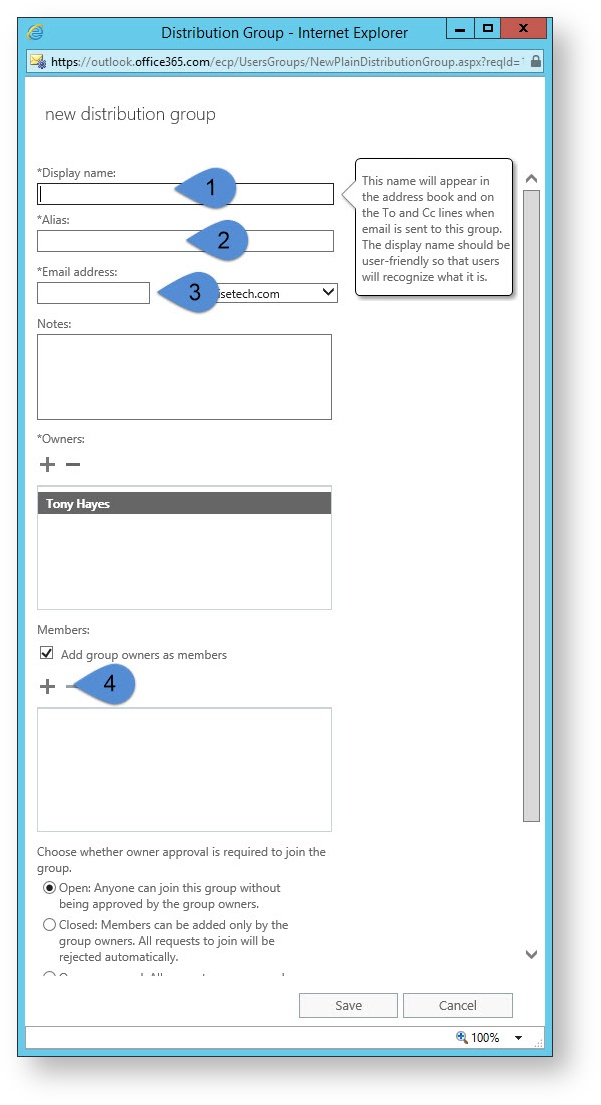
- Choose Add new | Distribution group
Complete the Distribution group setup by adding the following:
DisplayName - suggested best practice is to make this the email address without the domain (@somewhere.com)
Alias - suggested best practice is to make this the same as the Display Name
Email address - will be generated automatically by the system, but can be altered prior to save
Members - Add the primary mailbox to the Members area- Save the Group Record
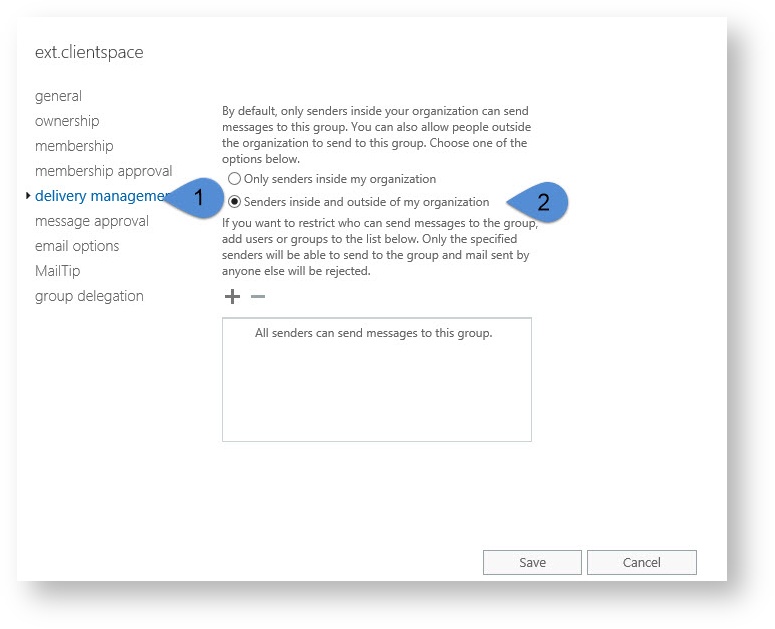
Edit the Record and select Delivery Management
- Select the Radio button for "Senders inside and outside of my organization"
- Save the record again.
- The alias email address will now be ready to use when configuring ClientSpace Email Integration Alias records.
These instructions require admin access to the Exchange mailbox - Contact your exchange administrator for help configuring these group options. Should the admin have questions you can provide the following link to this document: https://clientspace.atlassian.net/wiki/x/EIAhAg
Related articles
NOTICE: You are in the old ClientSpace Help system. Please link to the new ClientSpace Help here https://extranet.clientspace.net/helpdoc/home/ClientSpace.htm