NOTICE: You are in the old ClientSpace Help system. Please link to the new ClientSpace Help here https://extranet.clientspace.net/helpdoc/home/ClientSpace.htm
Configuring The Client Team Widget
The workspace landing page in ClientSpace is the central hub for Client Data. This is the home of the configurable Client Team widget, which allows up to 10 Client Team members to be displayed (shows 4 by default).
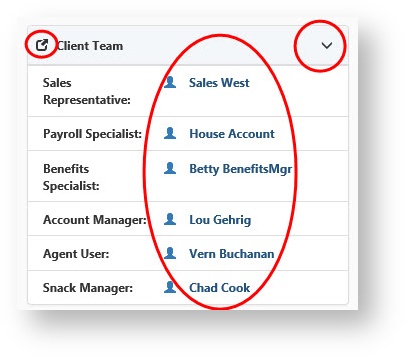
The header of the Client Team widget contains a header bar with a link to jump to the Client Team dataform as well as an expansion control which allows the panel to show more team members.
Configuring the widget involves configuring the Client Team Role lookup value and associated metadata.
Step-by-step guide
To begin configuring the Client Team widget in ClientSpace perform the following steps:
- Choose a Client Team field that you would like to see on the WSL widget, or add a new Client Team member by adding a new user field to the dataform
- Go to System Admin
 > Advanced > Dataform Admin.
 - Select the Team dataform and examine the field in the Dataform field manager.
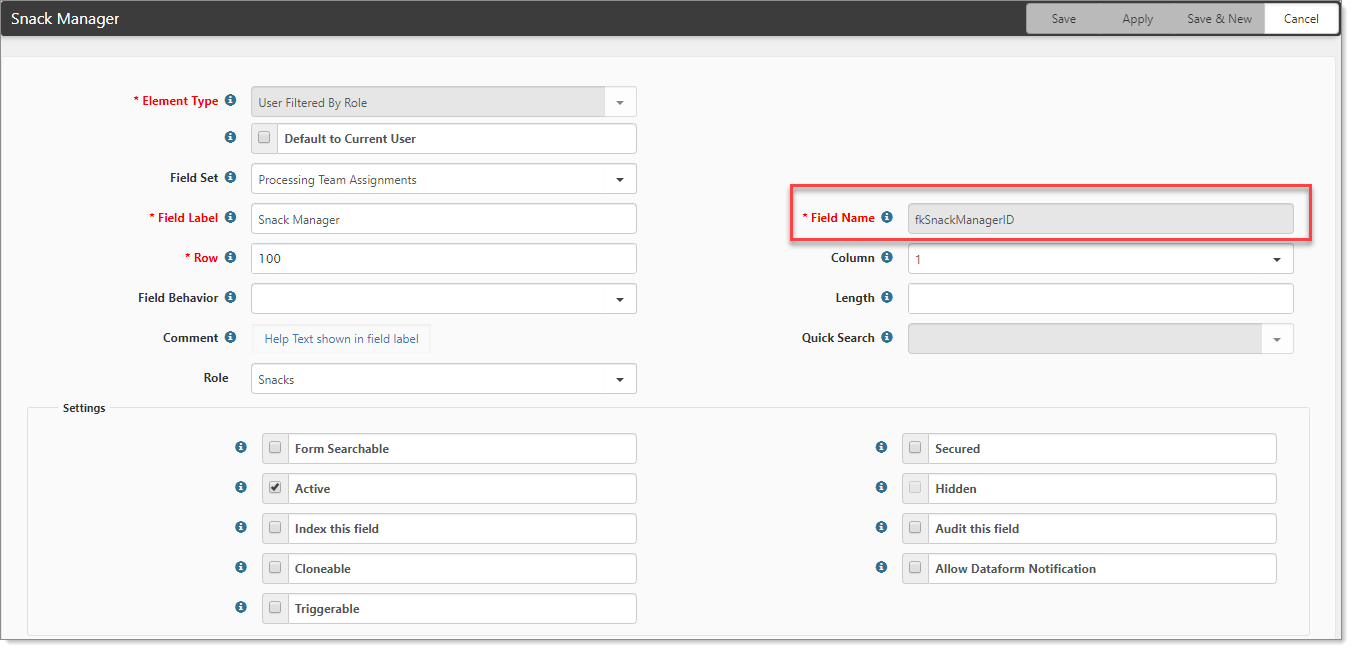
- Copy the field name.
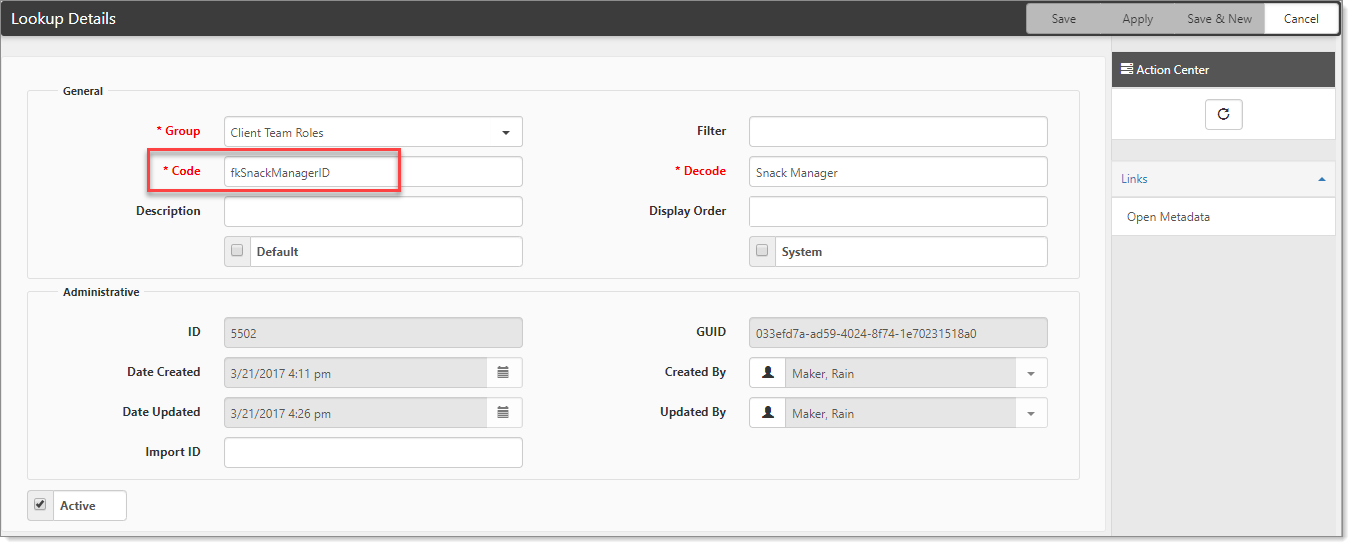
- Find the corresponding Client Team Field lookup (or create a new one) making sure to paste the field name you copied in the last step as the Code value.
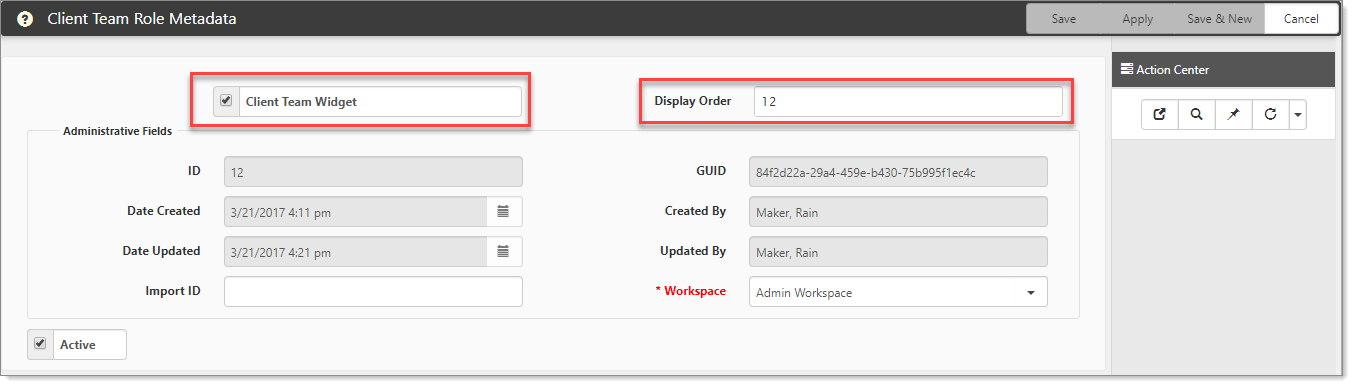
- Apply any lookup changes and drill into the metadata to configure the Client Team Widget checkbox and display order fields (up to 10 Client Team fields).
- Save your changes and refresh the Client Team dataform.
Related articles
NOTICE: You are in the old ClientSpace Help system. Please link to the new ClientSpace Help here https://extranet.clientspace.net/helpdoc/home/ClientSpace.htm